Setting up Home Assistant at your house

Network configuration
Static IP
From the installation instructions we can see how to set up a static IP, so our router doesn’t reassing it every time we power OFF and ON the raspberry pi. The steps are as follows:
- Format an USB-Stick as a FAT32 partition called
CONFIG. - create a file called
my-networkinside of a directory callednetwork.
An example of my-network file for a WiFi connection with a static IP:
[connection]
id=my-network
uuid=72111c67-4a5d-4d5c-925e-f8ee26efb3c3
type=802-11-wireless

[802-11-wireless]
mode=infrastructure
ssid=MY_SSID
# Uncomment below if your SSID is not broadcasted
#hidden=true

[802-11-wireless-security]
auth-alg=open
key-mgmt=wpa-psk
psk=MY_WLAN_SECRET_KEY

[ipv4]
method=manual
address=192.168.8.102/24;192.168.8.1
dns=8.8.8.8;8.8.4.4;

[ipv6]
addr-gen-mode=stable-privacy
method=auto
The static IP is defined in the ipv4 field.
For address, the value before the semicolon is the IP address and subnet prefix bitlength. The second value (after the semicolon) is the IP address of the local gateway.
- If this is a new installation of home Assistant, you just need to boot your
raspberry with the USB already plugged in. If you want to modify an existing configuration,
plug in the USB and go to
supervisor>systemand clickimport from USB.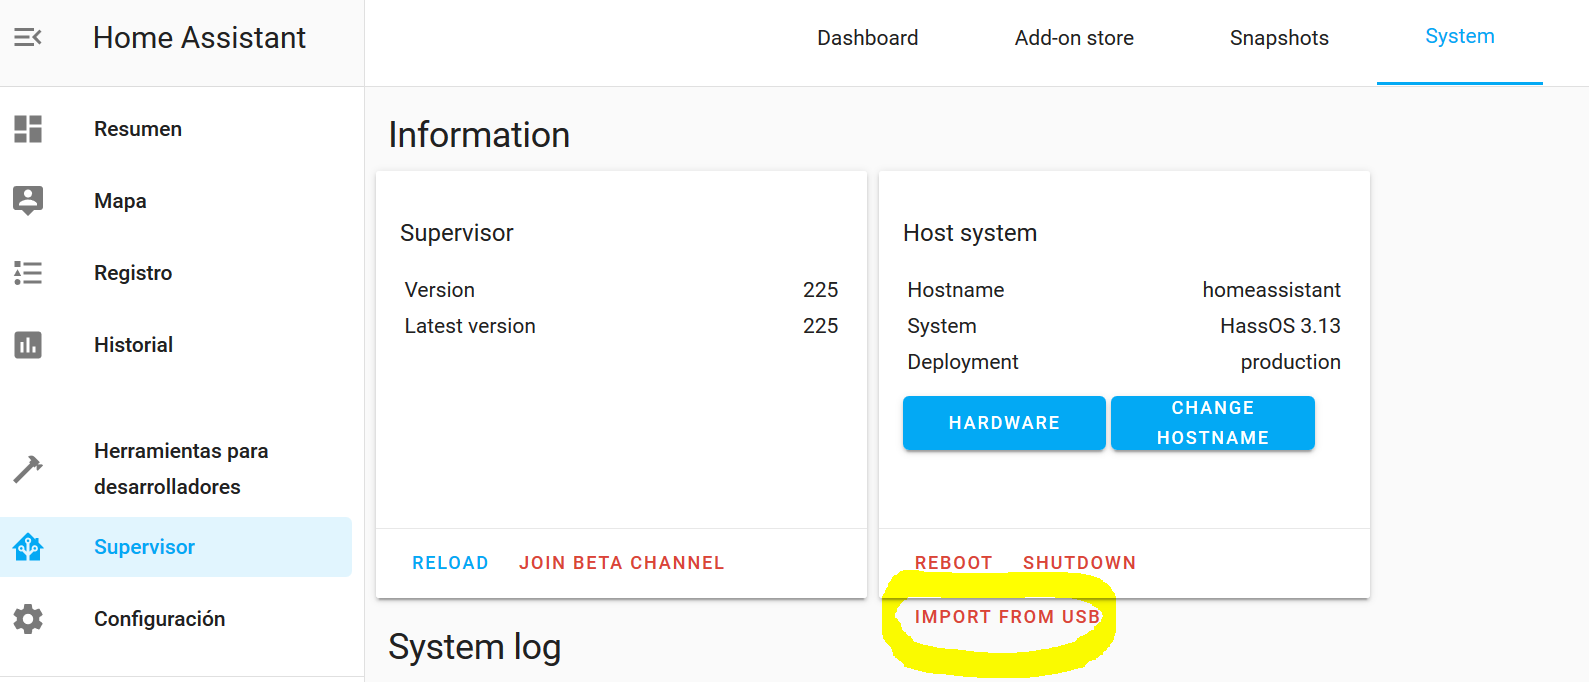
And that’s it for configuring a static IP in your WiFi!
Remote access
You can access your home assistant remotely by port forwarding. You can do this
by using a free Dynamic DNS service like DuckDNS.
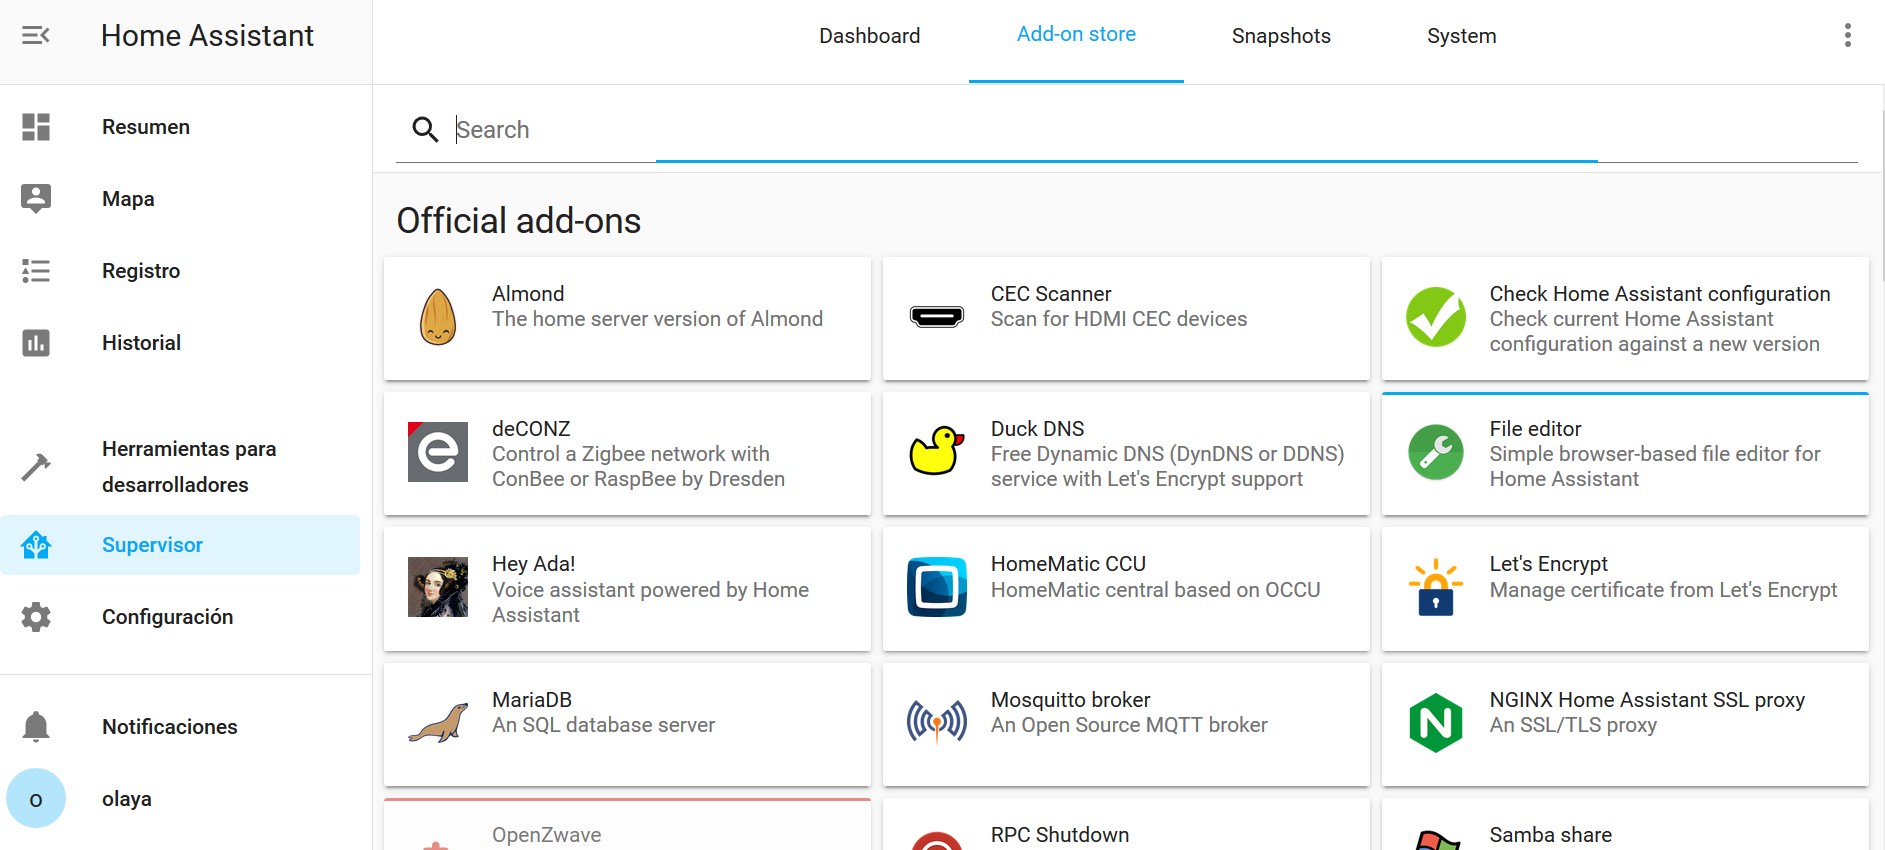
You can install DuckDNS addon through the Add-on Store accessible from the home
assistant supervisor.
 Once installed, click in go to the Duck DNS page: you’ll need an account to use
the service. I signed up with my Github account, but it offers multiple choices.
Once logged in, you’ll see the token generated, and you can write your desired
name for your domain, for example
Once installed, click in go to the Duck DNS page: you’ll need an account to use
the service. I signed up with my Github account, but it offers multiple choices.
Once logged in, you’ll see the token generated, and you can write your desired
name for your domain, for example myhouse.duckdns.org.
In the add-on configuration tab, copy the generated token in the so called token field,
and the domain you defined into the domains field. Finally, change the field
accept_terms to true. It should look like this:
lets_encrypt:
  accept_terms: true
  certfile: fullchain.pem
  keyfile: privkey.pem
token: your-generated-token
domains:
  - myhouse.duckdns.org
aliases: []
seconds: 300
Note that I didn’t write the http:// extension. Otherwise it throws an error.
Once you’re done, click save.
Now, in the add-on Log tab, click refresh and check if it gives you any error.
If it says you’re done… well, you’re done with the add-on config ![]()
Now, in the file editor, go to your configuration.yml file and modify the
following section:
# Uncomment this if you are using SSL/TLS, running in Docker container, etc.
http:
  base_url: myhouse.duckdns.org:8123
  ssl_certificate: /ssl/fullchain.pem
  ssl_key: /ssl/privkey.pem
Now, in your router configuration you’ll need to forward port 8123 for the IP address of your home assistant. Since every router is very different, I recommend you to look for information in Google on how to do this for your particular router.
Once this is all done, you should be able to access your home assistant through
your address https://myhouse.duckdns.org:8123.
Local access
After configuring the remote access, you’ll find that the local access no longer works. Or it does, but using the IP rather that the DuckDNS address. This will happen to you if your router doesn’t have NAT Loopback (which is my case).
Here we’ll see how to fix that.
still under construction!