Using your RC controller as an USB joystick
Hello all! First of all, I want to note the new phdstuff label that I’m introducing in this post. The point
is to show you which of these publications are contributing to my PhD, even if they’re trivial, because there’s much
work behind a PhD than just the “journal-worthy” work. I feel like this kind of work is normally invisible,
or even undervalued, even if it takes loads of time and it’s essential for the whole system to work.
Anyway, let’s go with the post!
This post comes from my need to have an USB joystick more precise than a xbox controller, but cheaper than the professional hall effect joysticks. The ideal solution for this seemed to be the RC joysticks typically used with drones. However, we need to interface somehow the radio signal to the PC. Some RC controllers (the one of this post included) have a simulator cable. However, I was looking for a wireless solution, which I find more convenient to operate a robot. In this post, we will get the wireless radio signal from the controller, and interface it to an Ubuntu PC.
Hardware Setup
What we first need to do, is to connect the radio receiver that will get the signal from the controller to our PC. We will do so with a TTL to USB adapter. I used the following hardware:
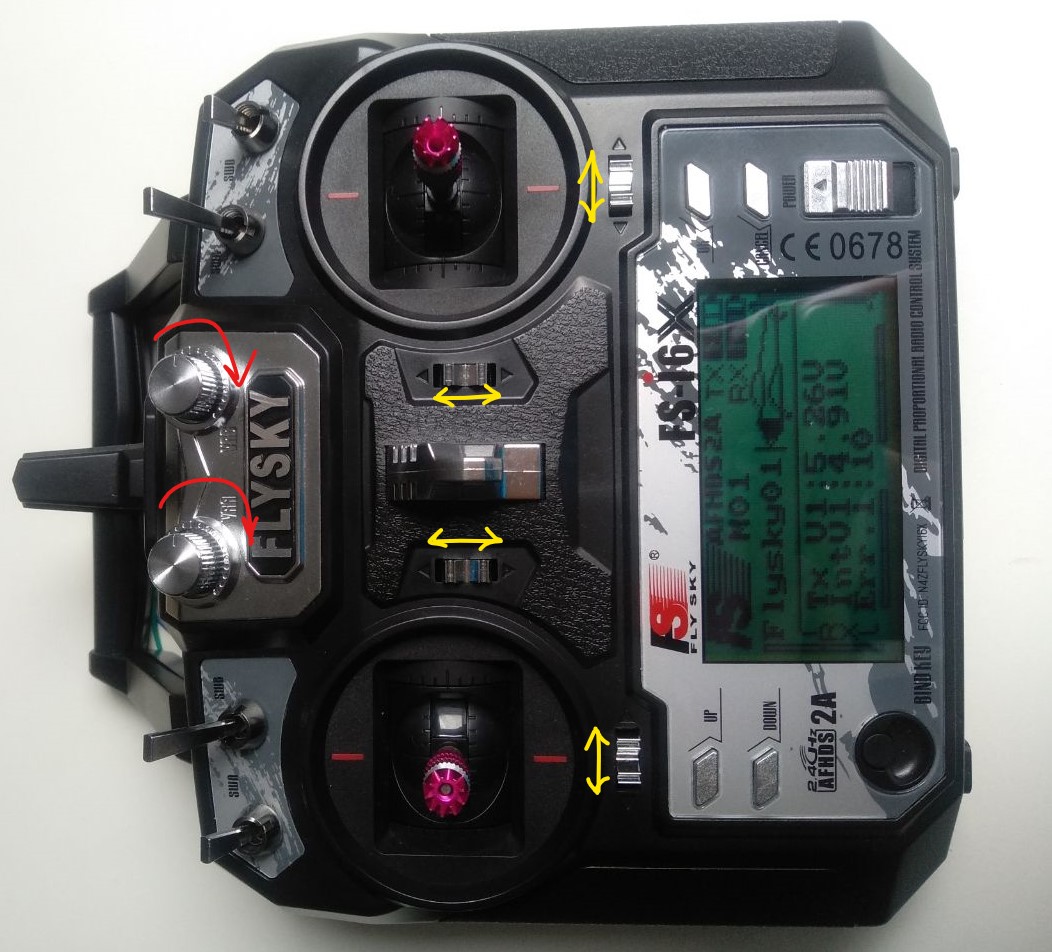
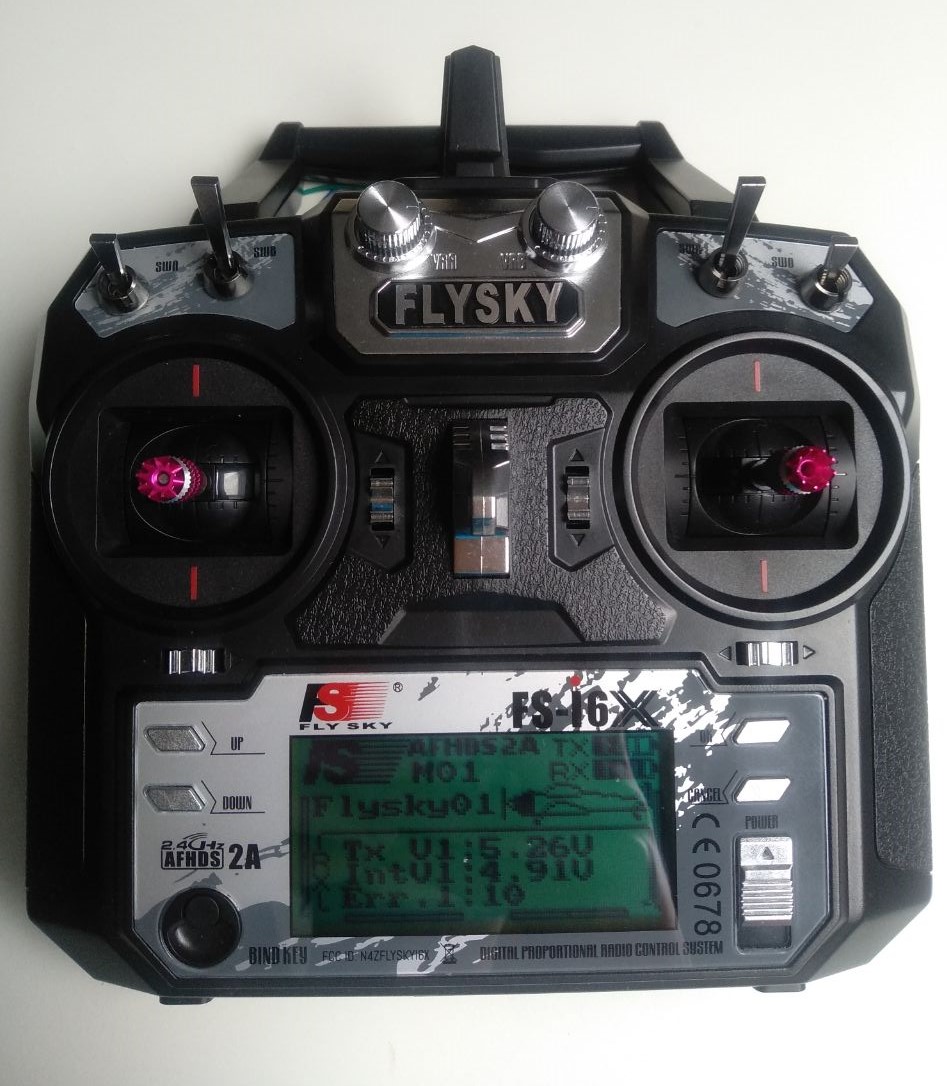
- FlySky FS-i6x or FS-i6 remote control.
- FlySky FS-iA6B receiver. A bit overpriced in my opinion, for around 16 euros.
- USB to TTL adapter. I got this one from DSD TECH for ~8 euros. It already included the wires to connect with the receiver.
Connect the radio receiver to the TTL adapter as follows:
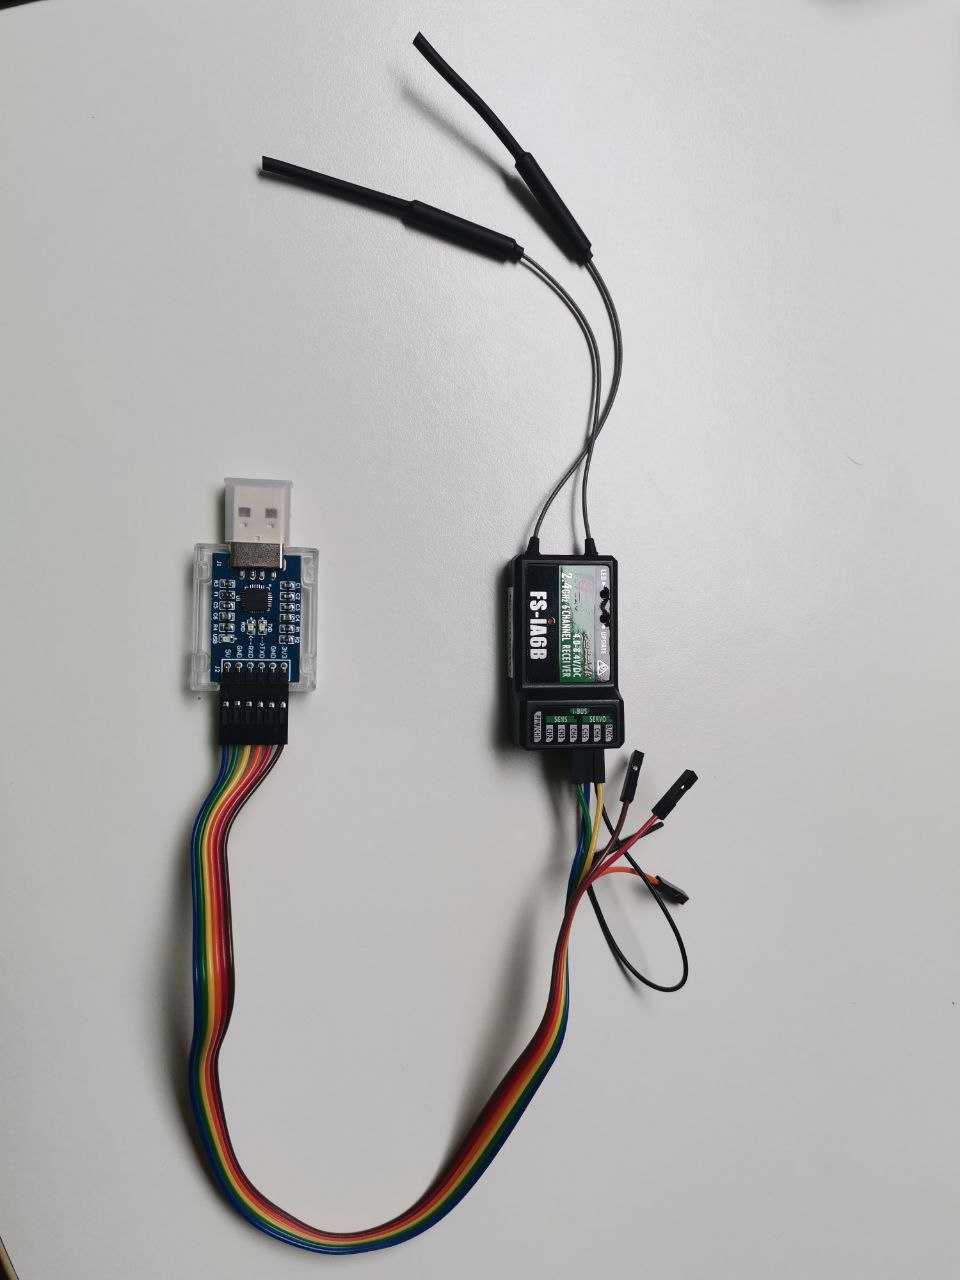
That is, CH5 to GND, CH6 to +5V, and finally the rightmost pin to the RX pin in the adapter. The rest of the pins don’t need to be connected.
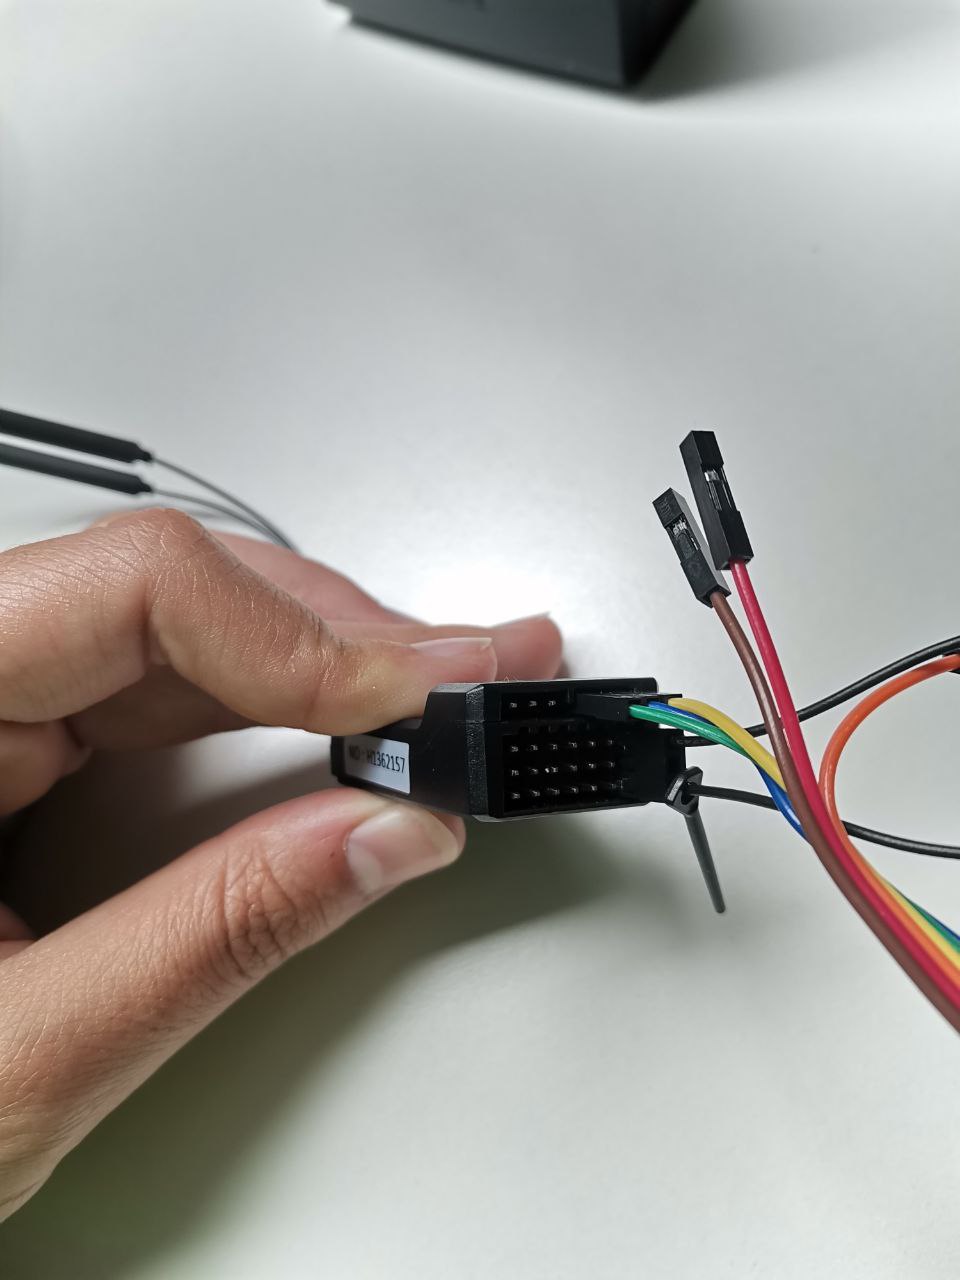
Now, bind the receiver to your remote. With the receiver powered off, connect the jumper (provided with the receiver) as seen in the picture below.
Connect the adapter to your PC to power up the receiver, and you’ll see that it starts blinking fast. Now take the controller, and power it up while pressing the BIND key:
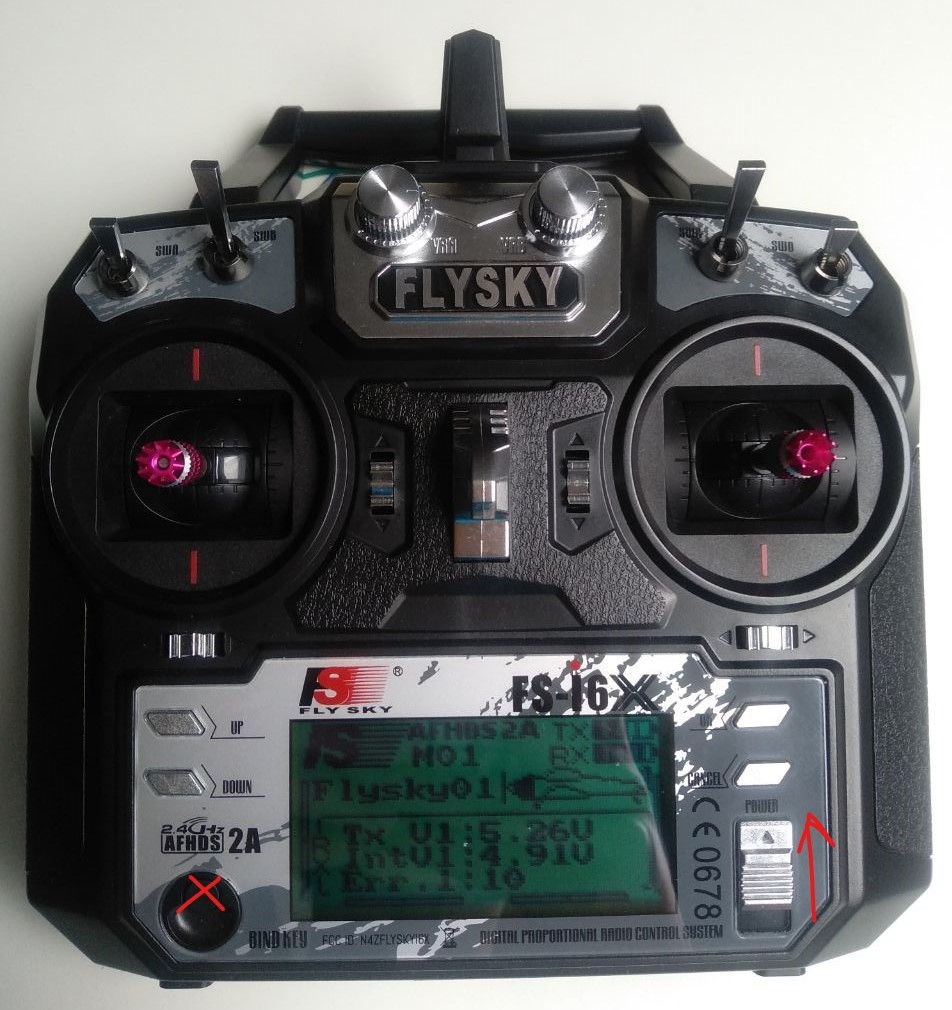
Now the controller screen should show you that it has been correctly binded.
Updating the FlySky firmware (optional)
You can optionally update the firmware of your FlySky in order to have more available channels for the switches. I did it by following the instructions here. You can download the firmware with the software updater from here.
Some notes on this from my experience:
-
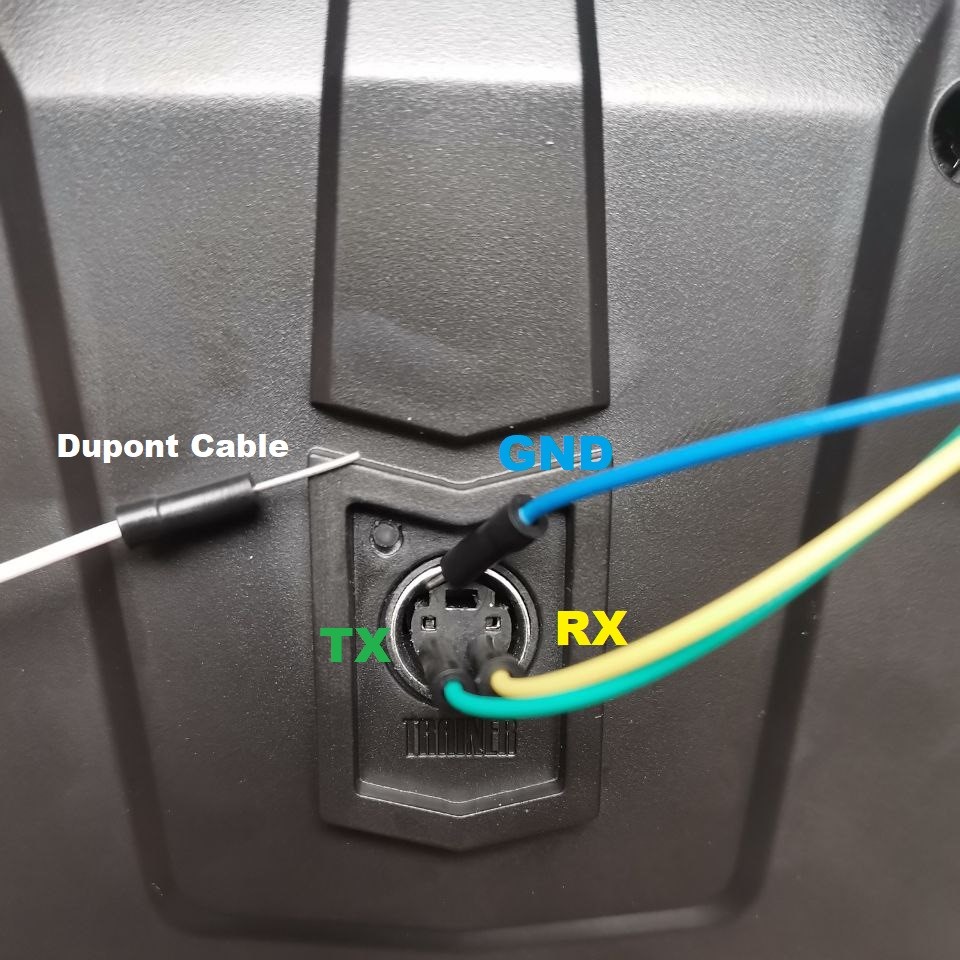
You don’t need a data cable, you can make your own with a USB-TTL adapter. And you don’t need to weld anything! I’ve seen some videos of people welding the trainer connector of the controller, but you can use a DuPont cable by inserting it and making sure it is making a good contact (careful with the Ground cable). You have to connect the TX in the controller to the RX in the adapter, the RX in the controller to the TX in the adapter, and finally the Grounds between them.
-
Another note is that my adapter had two Ground pins, one next to a 3V3 pin, and the other one next to the 5V pin (unused here). The connection only worked when connecting to the 5V ground. I guess, because the USB connection provides 5V.
-
If you had any problem with the connection (wrong ping connection, one pin disconnecting, etc.), reboot the controller after fixing it. Otherwise, the connection might keep being faulty.
-
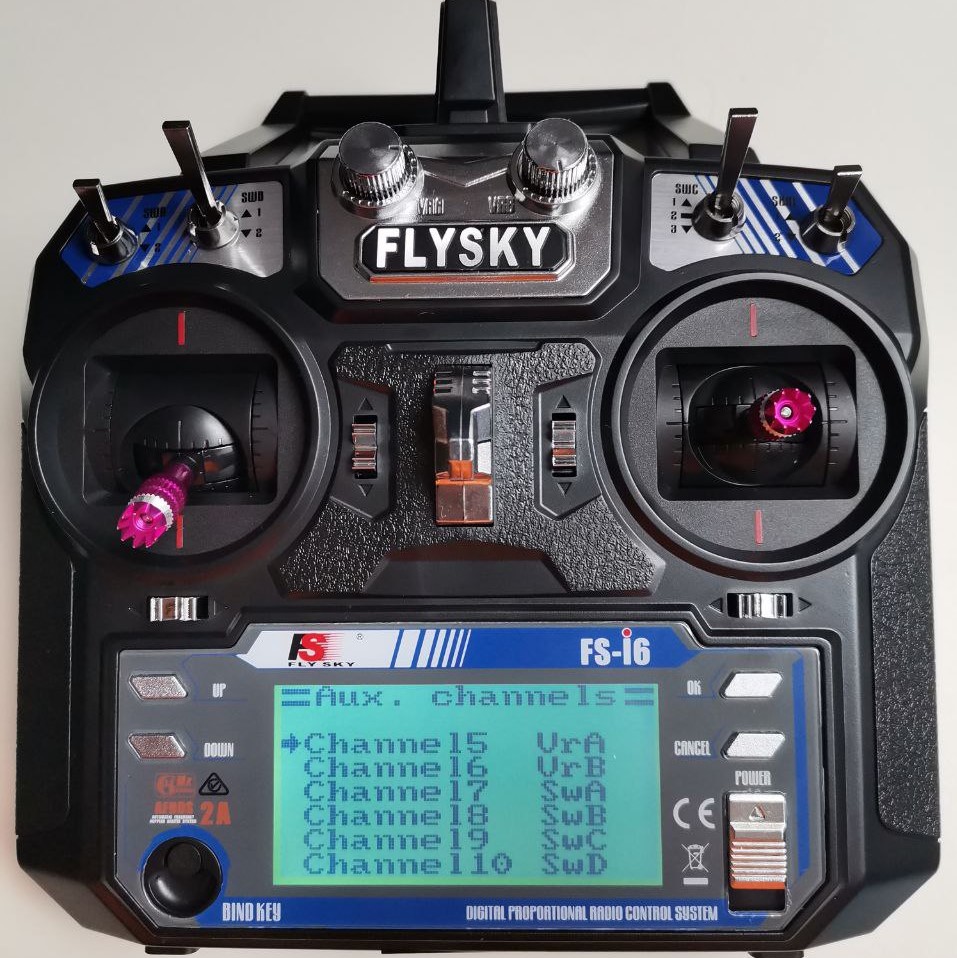
Once you have the extra AUX channels, configure them in
Functions setup>Aux channels. Just select the channel and move the switch you want to assign to that channel.
Software setup
sudo modprobe serio
sudo inputattach --fsia6b /dev/ttyUSBx
This creates a joystick device, which you can check with the jstest-gtk command